Are you tired of paying a mechanic to change your car’s oil? Changing the oil in your car is a simple and easy process that anyone can do with just a few basic tools. Not only will changing your own oil save you money, but it will also give you a sense of accomplishment knowing that you can take care of your own car. In this article, we will guide you through the process of changing your car’s oil step-by-step, including everything from the tools you’ll need to how to dispose of your old oil.
Before you can begin changing your car’s oil, you’ll need to locate the oil drain plug and oil filter. The oil drain plug is typically located on the bottom of the engine and is a large bolt or plug. The oil filter is usually located near the drain plug, but it can vary depending on the make and model of your car. Refer to your car’s owner’s manual for specific instructions on where to find the oil drain plug and oil filter.
Before you jack up your car, make sure the engine is cool and that your car is parked on a level surface. You should also make sure your car is in Park and that the parking brake is engaged. This will help prevent the car from moving while you’re working on it.
Using a socket wrench or adjustable wrench, loosen the oil drain plug by turning it counterclockwise. Once it’s loose, you can remove it by hand. Be careful when removing the oil drain plug as oil may start to flow out immediately.
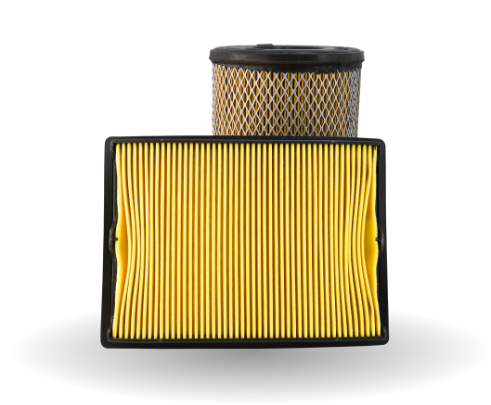
Using an oil filter wrench, loosen the oil filter by turning it counterclockwise. Once it’s loose, you can remove it by hand. Be sure to have your oil drain pan ready as oil will start to flow out of the filter.
Before installing the new oil filter, lubricate the rubber gasket with a small amount of new oil. This will help ensure a proper seal. Screw the new oil filter onto the engine by hand, making sure not to cross-thread it. Tighten the filter by turning it clockwise until it’s snug, then give it additional three-quarters of a turn.
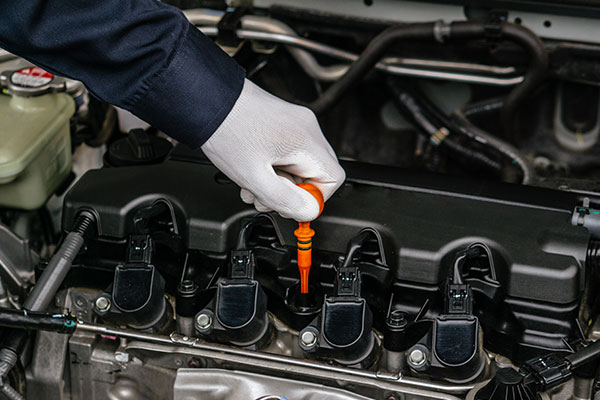
Remove the oil filler cap on top of the engine and insert the funnel. Pour in the recommended amount of new oil for your car’s make and model. Be sure to check your car’s owner’s manual for the correct oil type and amount.
Once you’ve added new oil, it’s important to check the oil level. Remove the dipstick, wipe it clean with a rag, and insert it back into the engine. Make sure it’s fully seated, then remove it again to check the oil level. The oil should be between the minimum and maximum marks on the dipstick. If it’s low, add more oil until it’s at the correct level.
After you’ve added new oil, start the engine and let it run for a few minutes. Turn off the engine and check for any leaks around the oil drain plug and oil filter. If you see any leaks, tighten the drain plug or filter until the leak stops.
Once you’ve finished changing your car’s oil, it’s important to dispose of the old oil properly. Most auto parts stores and service centers will accept used oil for recycling. Be sure to store the old oil in a sealed container and transport it carefully to the recycling center.
The frequency of oil changes can vary depending on your car’s make and model, as well as your driving habits. Check your car’s owner’s manual for specific recommendations, but generally, you should change your oil every 3,000 to 5,000 miles or every six months, whichever comes first.
Changing your car’s oil is a simple and easy process that anyone can do with just a few basic tools. By following the steps outlined in this article, you can save money and have the satisfaction of knowing that you can take care of your own car. Remember to dispose of your old oil properly and follow the manufacturer’s recommendations for oil changes to keep your engine running smoothly.